

Master the Snap
Learn the patented 3-step process that is revolutionizing jewelry manufacturing. From precise drilling to the satisfying final snap, here is how you achieve the perfect setting every time.
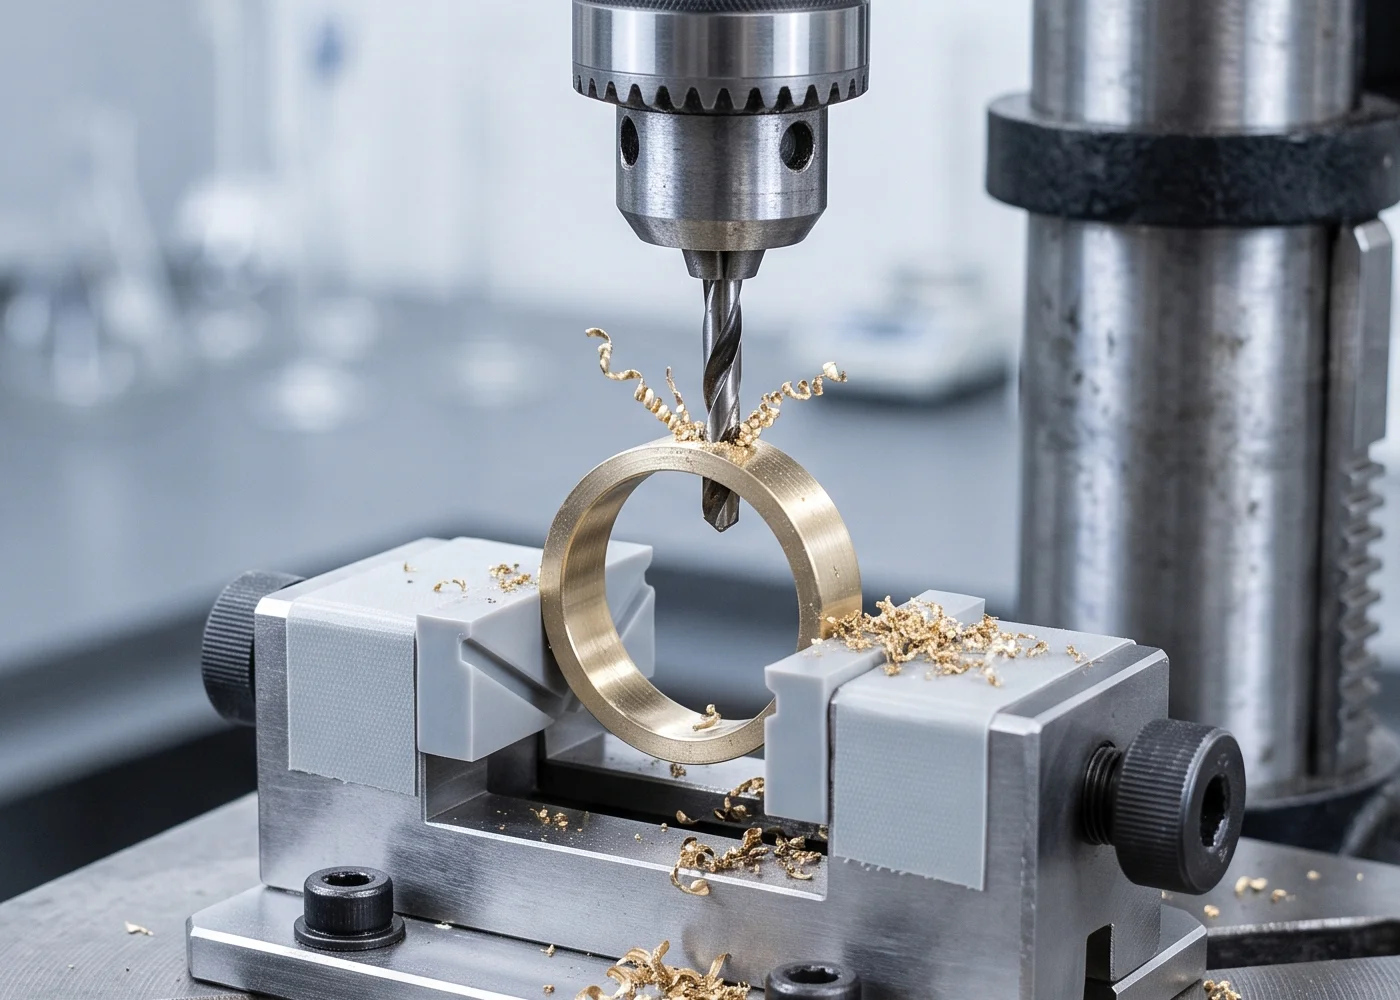
Macro View: Drilling Pilot Hole
Soft Metals (Silver/Gold): 5,000–7,000 RPM. Hard Metals (Platinum): 8,000–10,000 RPM.
Drill the Pilot
Precision starts here. Using our calibrated burrs, create a pilot hole that matches the exact diameter of your chosen Snapper setting. The depth stop collar ensures you never drill too deep, protecting the integrity of the piece.
Vertical Alignment
Ensure the drill bit is perfectly perpendicular to the surface for a flush seat.
Material Thickness
Minimum required thickness: 1.2mm for standard bezels. For thinner sheets, use our backing plates.
Place & Align
Insert the bezel post into the pilot hole. Our patented friction-fit tolerance holds the setting temporarily in place, allowing you to rotate and orient the stone's facet pattern precisely before committing to the set.
Inspect the Culet
Check from the underside to ensure the culet clears the material thickness and has breathing room.
Rotation Check
Spin the bezel to catch the light. Once aligned, the friction fit will hold it steady for the final step.
Macro View: Aligning Bezel
Use a tiny dab of beeswax on the tip of the placement tool to handle small stones (2mm-3mm) without magnetization.
Macro View: Impact Action
Keep the Impact Tool perpendicular to the piece and use one firm press for a clean, repeatable lock.
Snap to Lock
The moment of truth. Position the Impact Tool over the bezel. With a single, firm press, the internal spring mechanism triggers a controlled impact that flares the bezel post on the underside, permanently locking the stone in place.
Mechanical Bond
Unlike glue or heat, this is a cold mechanical connection tested to withstand 50lbs of pull force.
Instant Finish
No clean-up or polishing is needed around the setting. It's done instantly.
Technical Considerations
Metal Hardness
Snappers work best on annealed metals. If working with work-hardened sheet, anneal the area locally before drilling to prevent drill wandering.
Tool Maintenance
The Impact Tool is rated for 10,000 snaps. Replace the internal spring annually if used in a high-volume production environment.
Spacing Guide
Maintain at least 1mm of material between the edge of a setting and the edge of your piece, or between two adjacent settings.
Ready to Snap?
Join thousands of jewelers saving hours on production time. Get everything you need in one box.